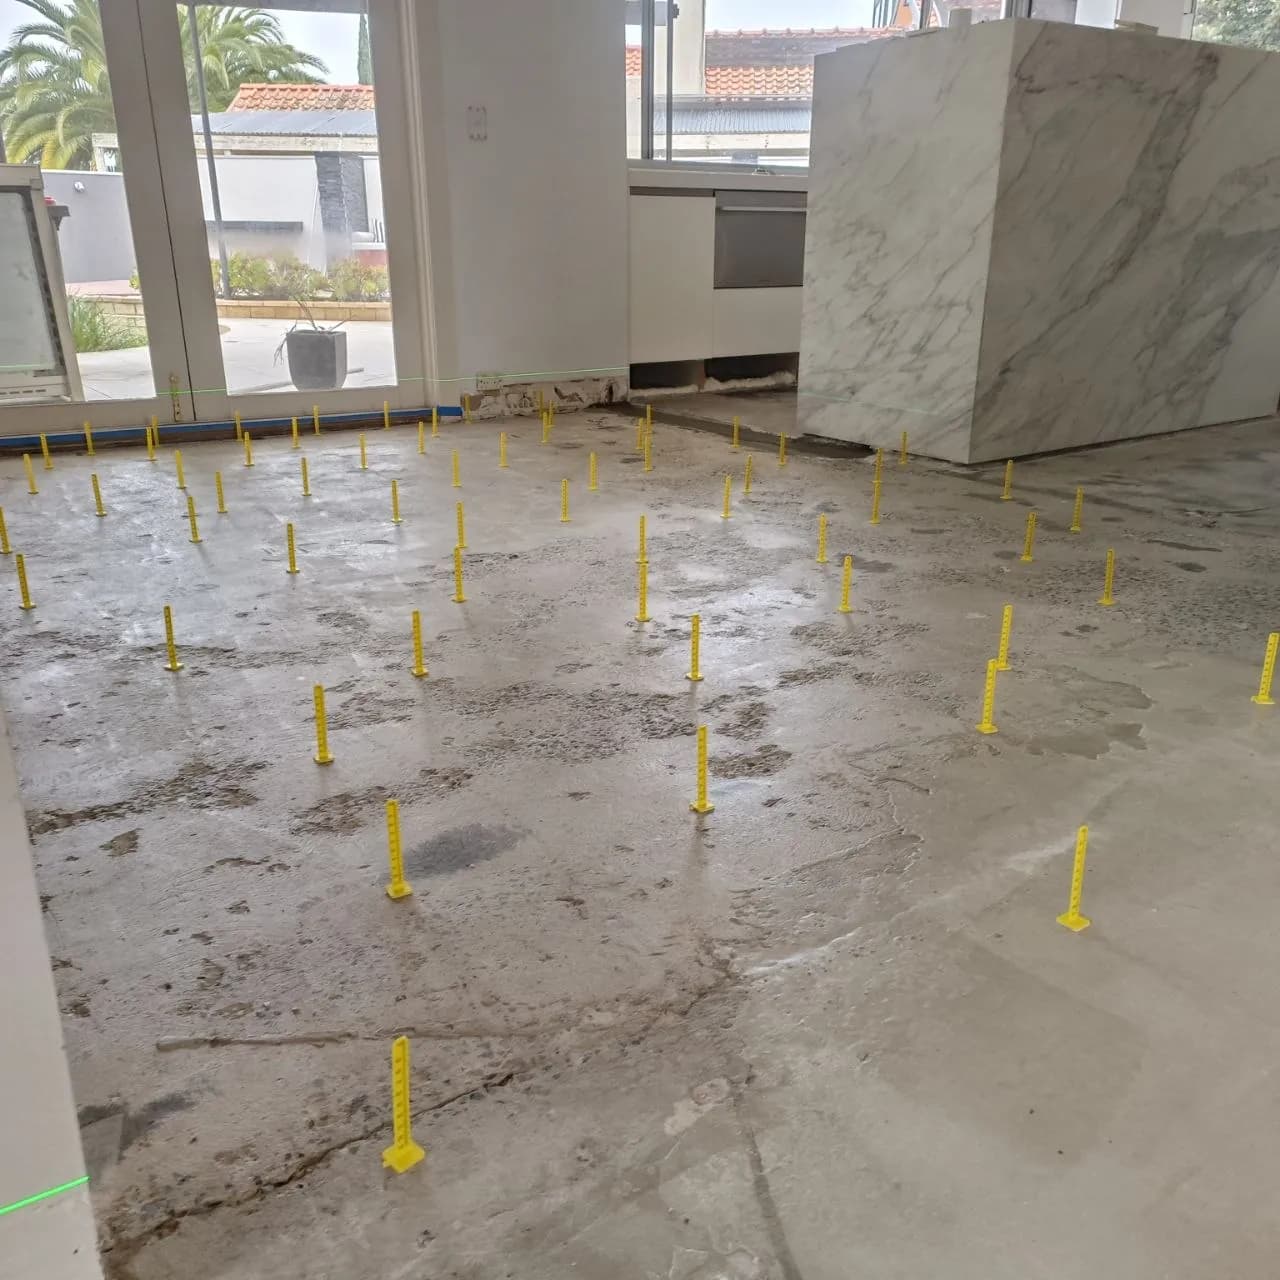
Read the floor.
Then choose the method.
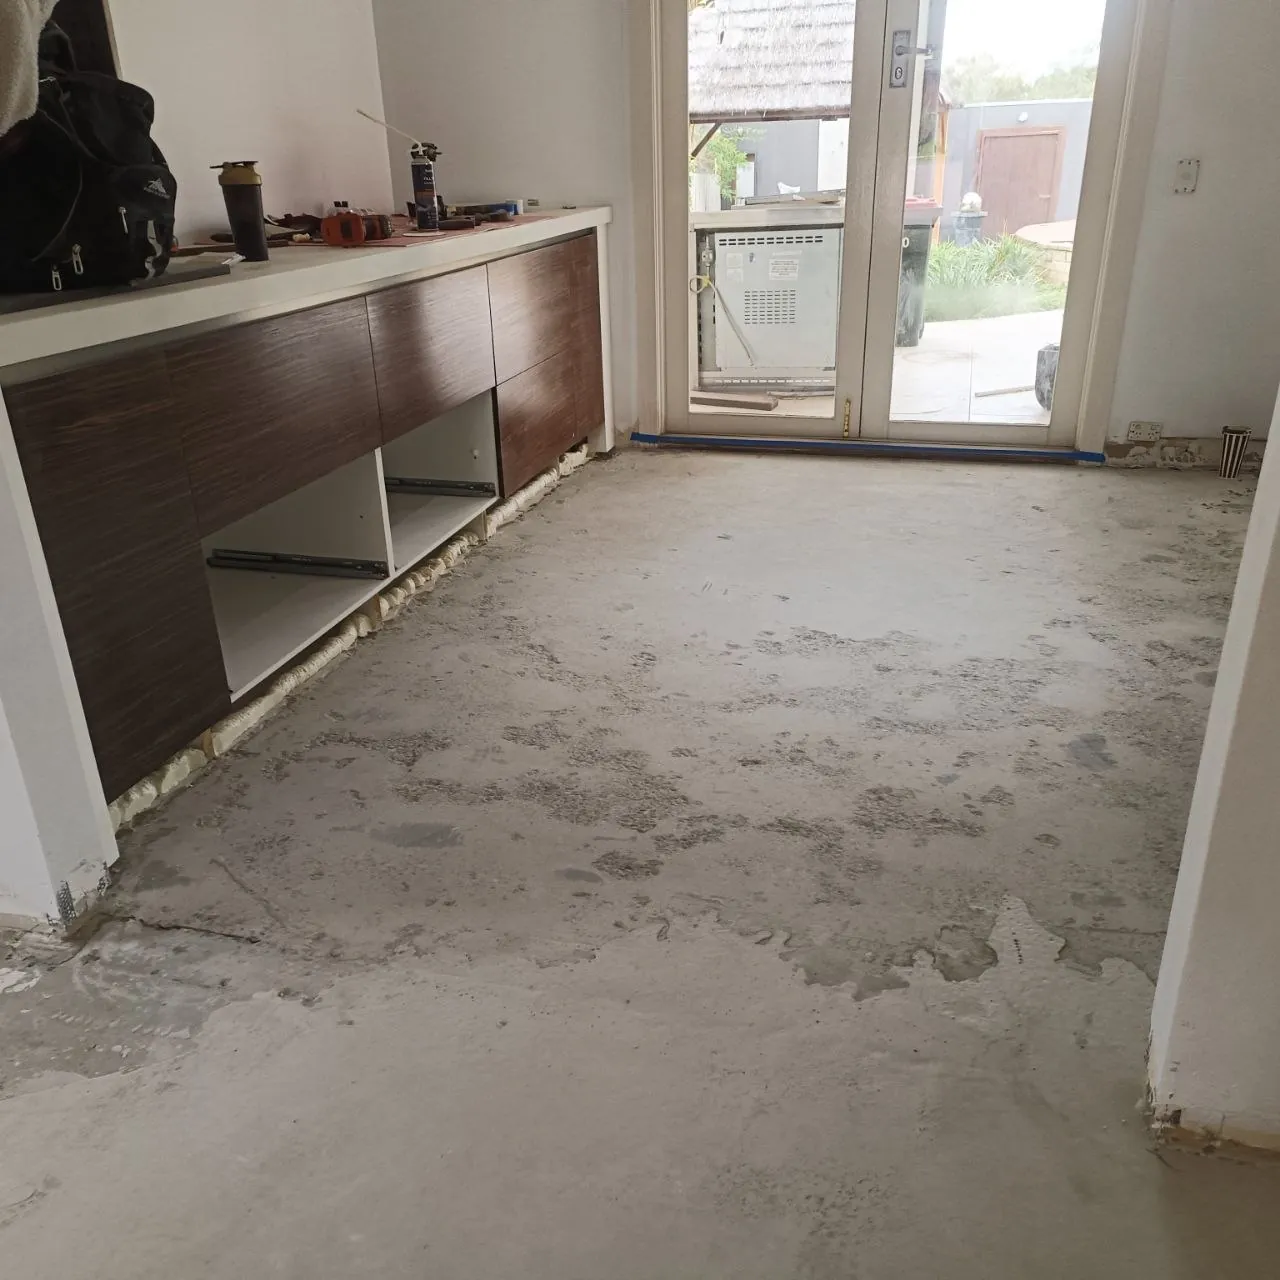
Every floor is different. We check it, correct it and prepare it for the floor going on top.
How it is read
A laser level and a straight edge show where the floor sits high, where it dips, where it falls away and how much the height changes across the room. We take the time to measure it properly. A few millimetres decide how well the new floor goes down.
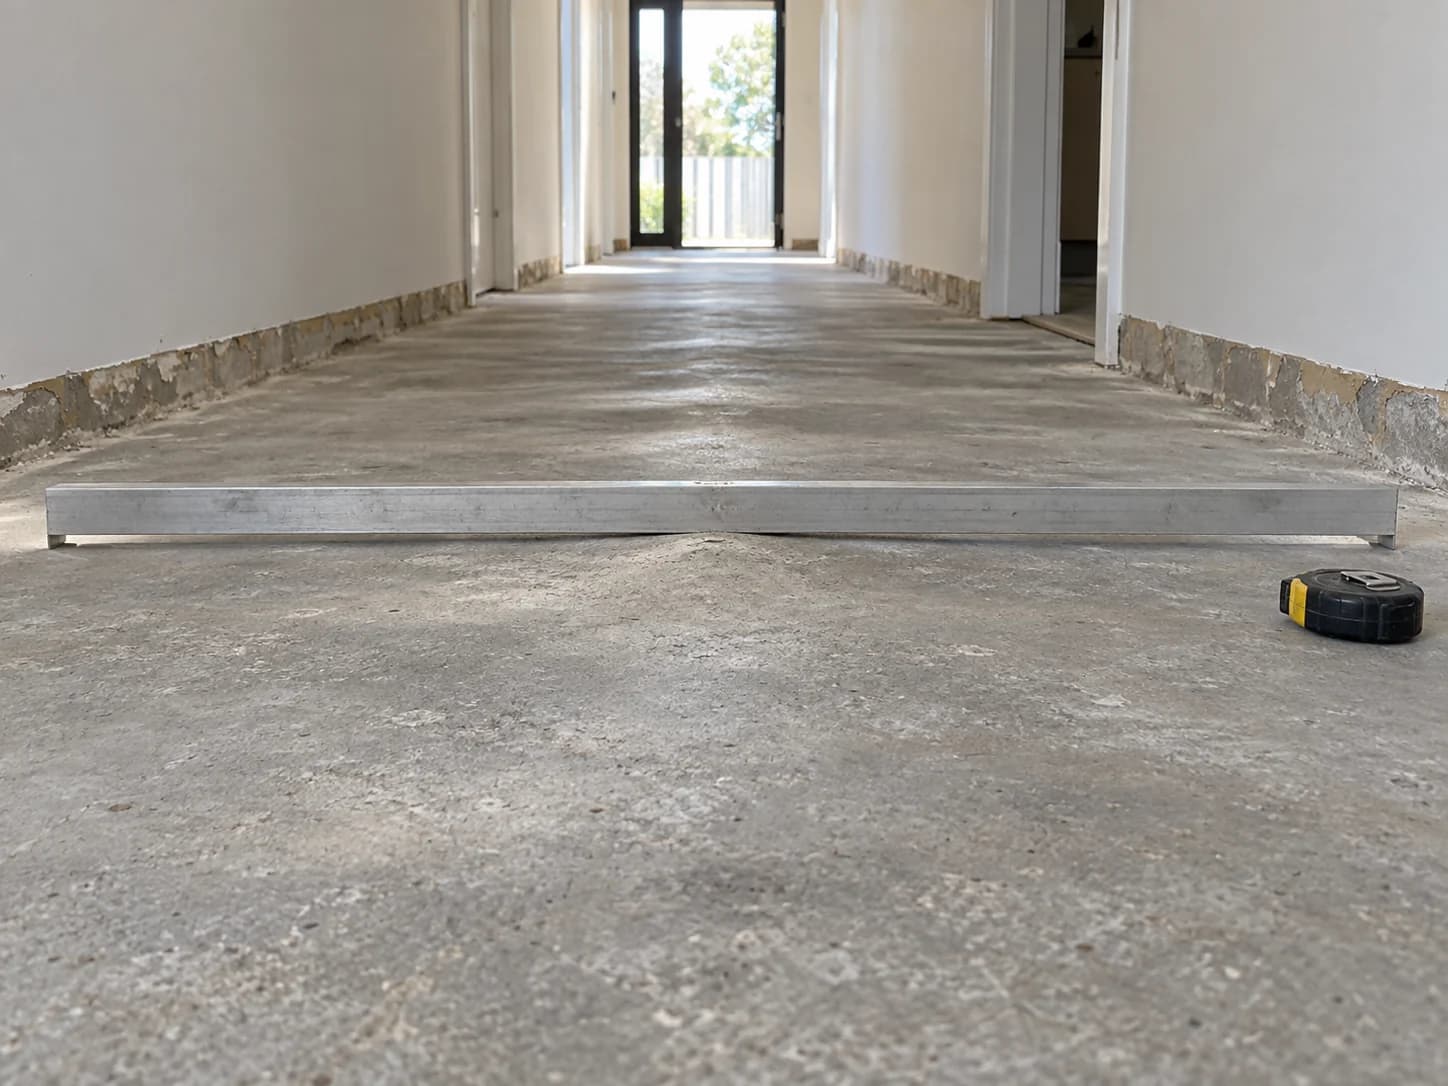
High spots
Raised areas, trowel ridges and hard lumps sitting above the rest of the floor.
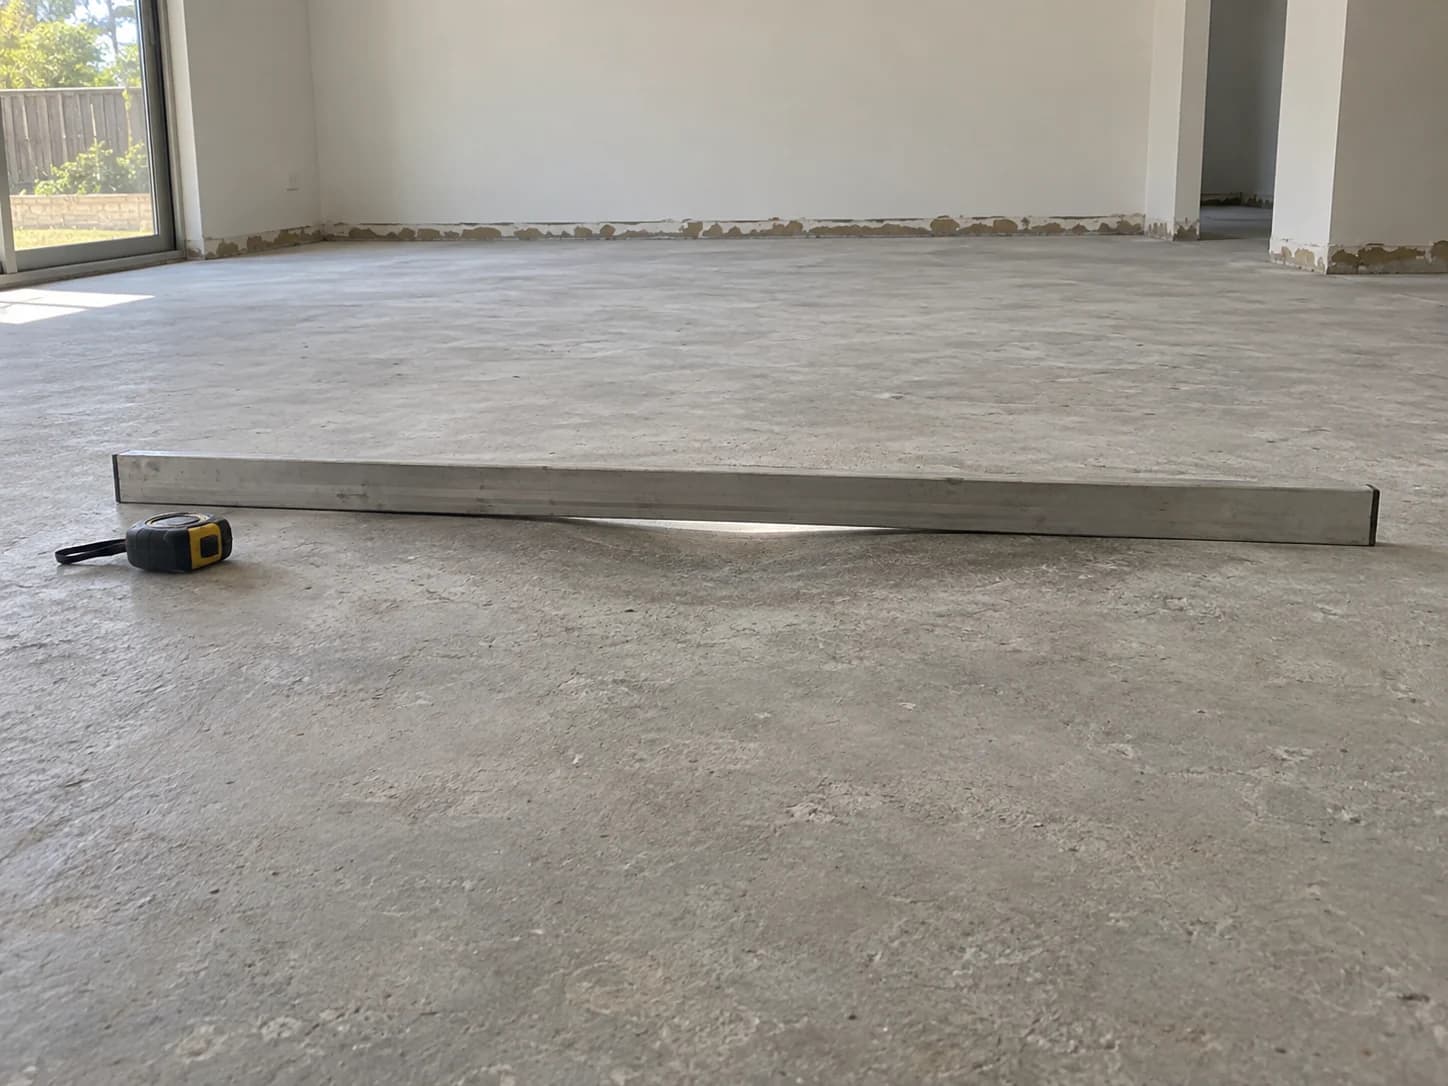
Low spots
Dips that sit below the rest of the floor.
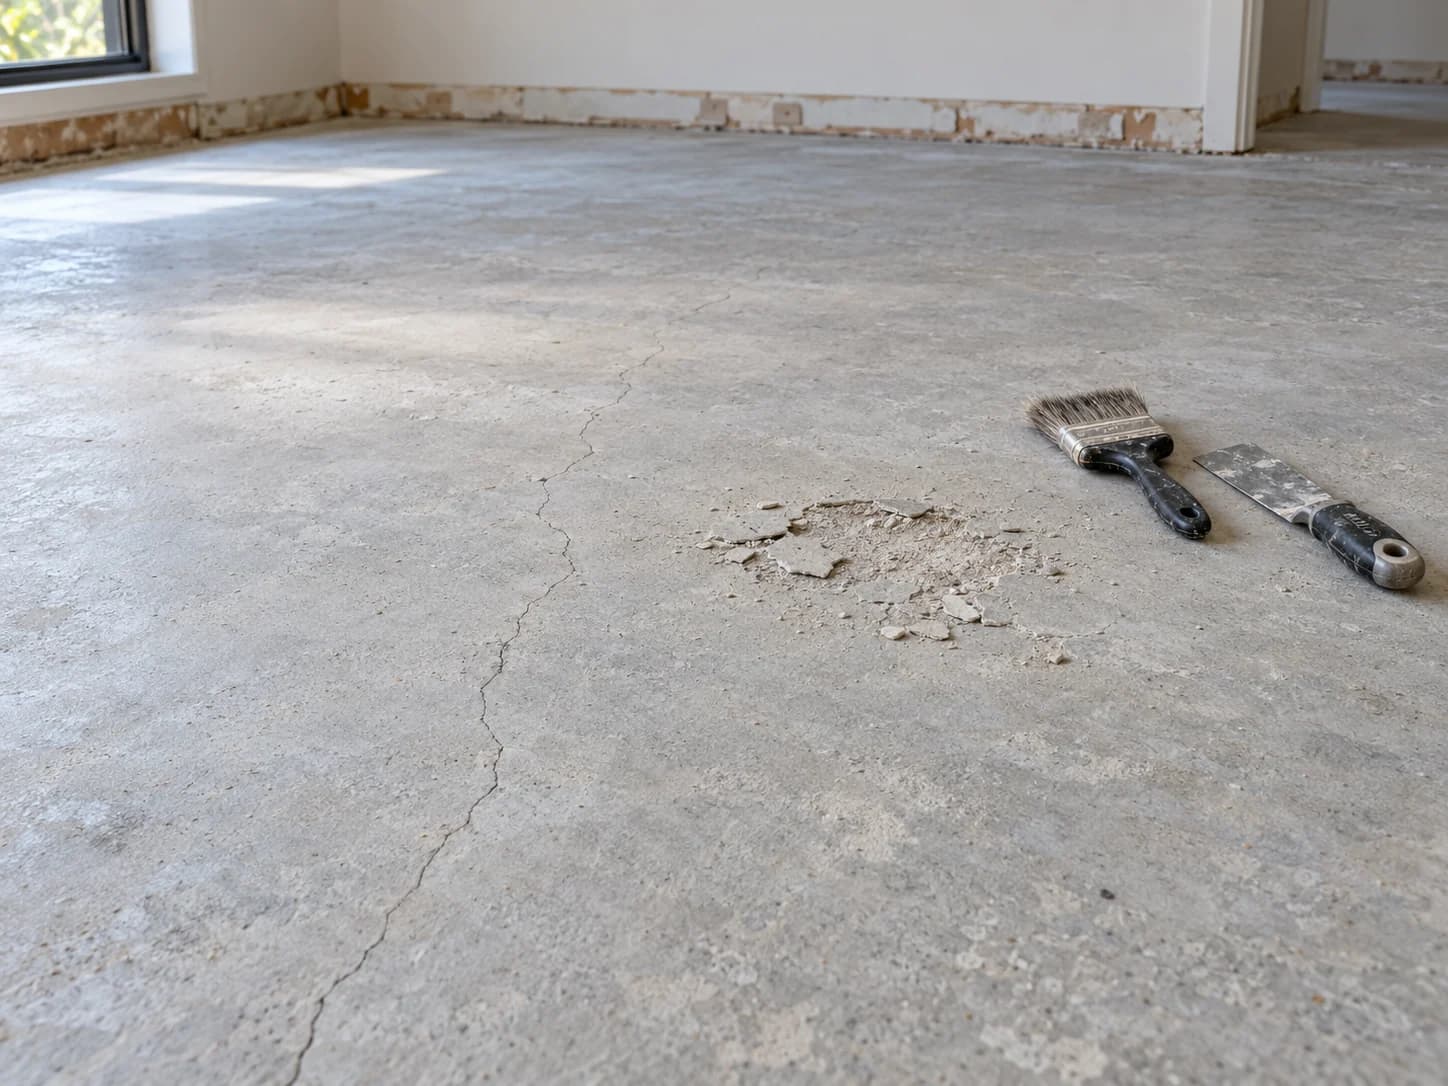
Breaks and cracks
Broken edges and cracks in the existing surface.
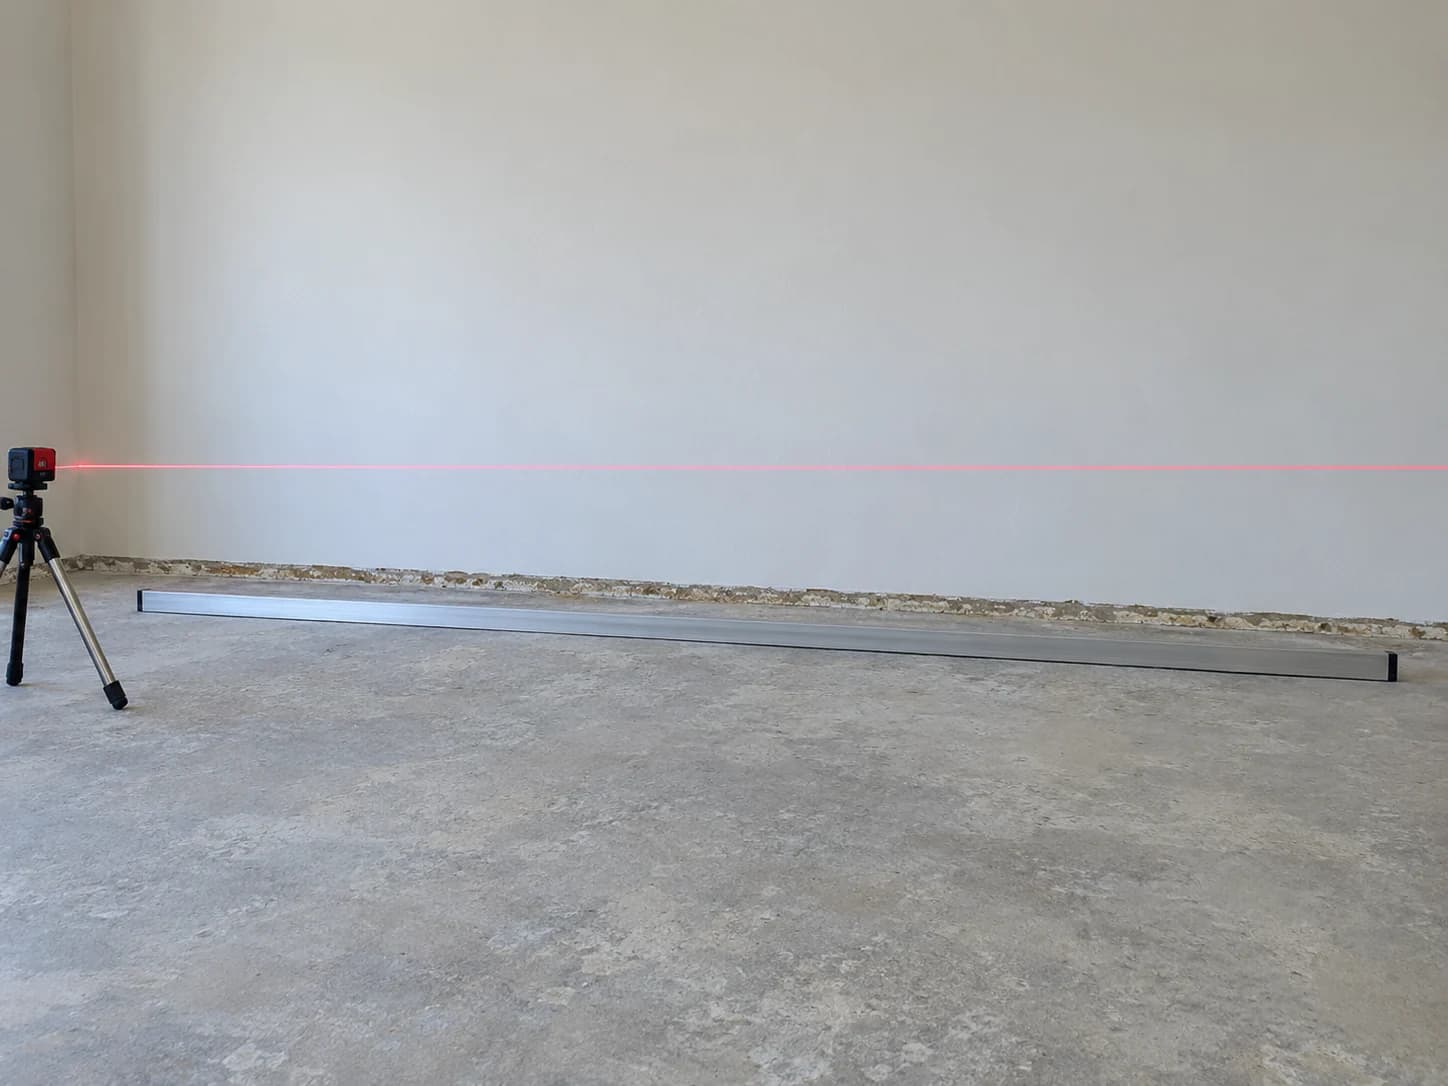
Slopes and falls
A floor that runs downhill across a room.
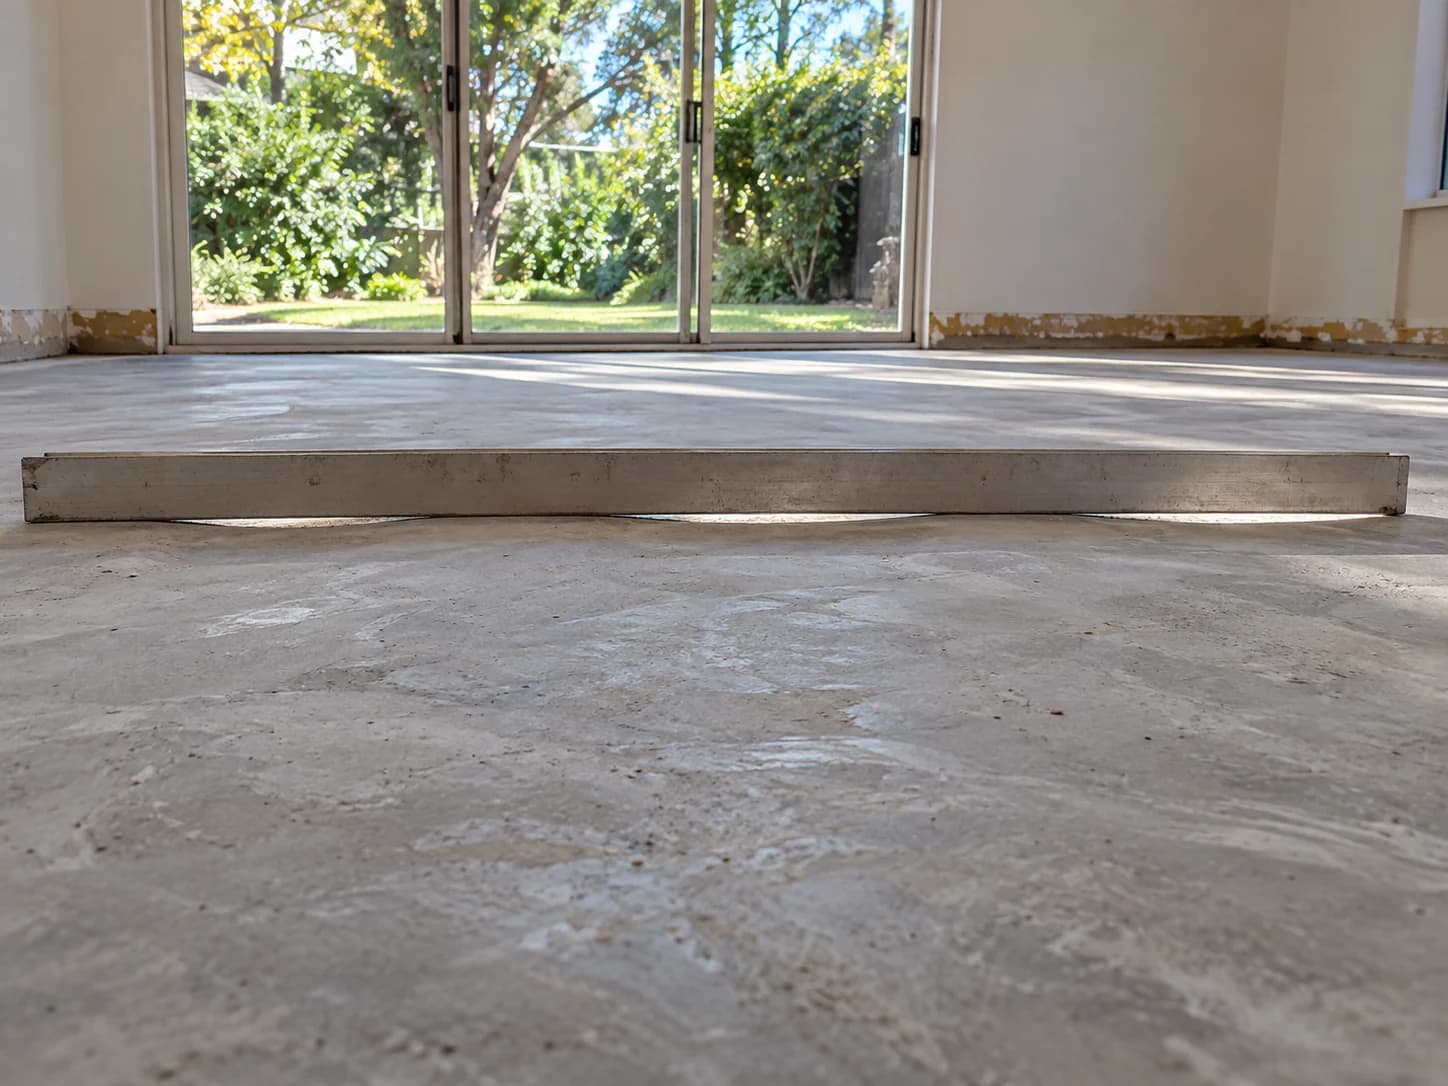
Unevenness
A wavy floor with no single high or low point.
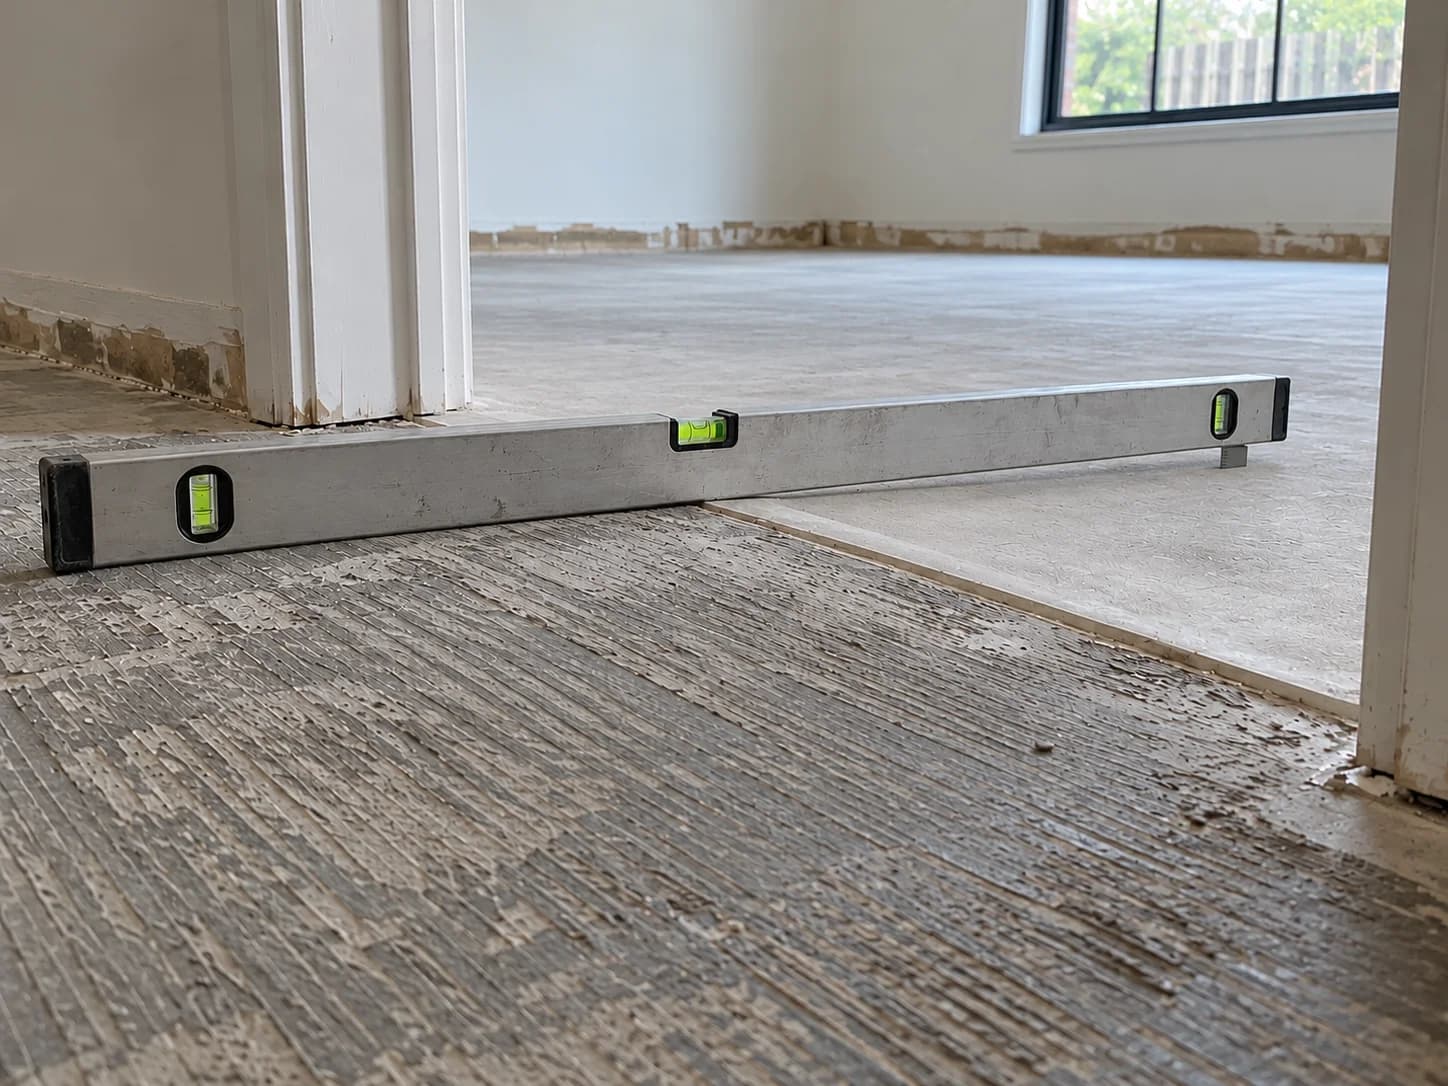
Differences in height
A step or change in level between rooms or at a doorway.
What the reading decides
Depending on what the floor is doing, it may need flattening, levelling, grinding, filling, or a combination of these.
Flattening
Taking out the ups and downs across the surface.
Levelling
Bringing the floor to one even plane.
Grinding
Taking off high spots, lumps and rough patches.
Filling
Filling the low points with floor-prep material.
Flattening and levelling aren't the same thing. A floor can need one, the other, or both.
Where the preparation sits
We work between the existing slab and the new floor: correcting the low areas and preparing the surface.
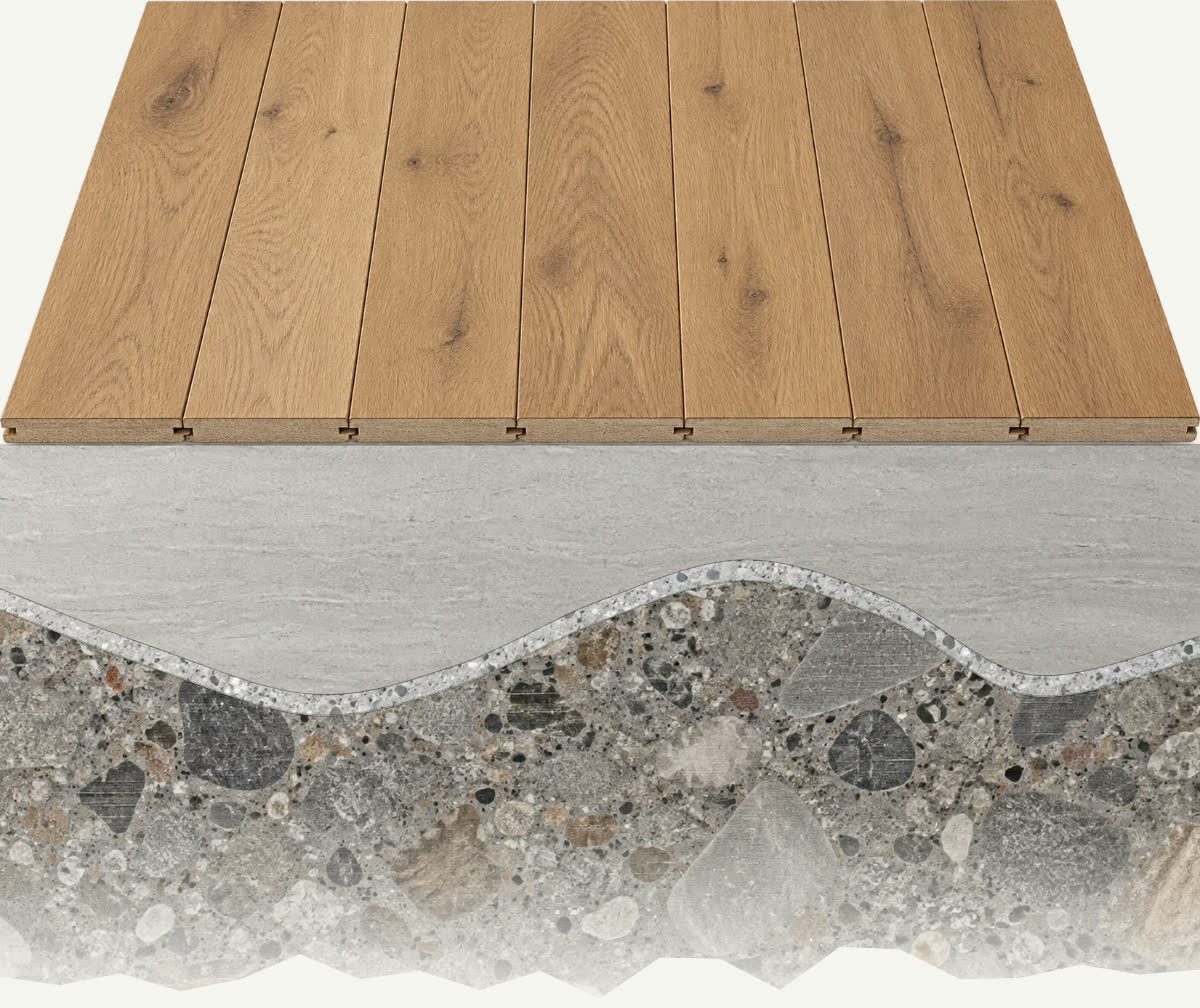
- New floorLaid by your installer, or by us if it's floorboards.
- Correction layer Our workFills and corrects the low areas, where needed.
- Prepared surface Our workThe surface prepared for the new floor.
- Existing slabThe concrete that's there now.
What shapes the preparation
- What we find
- The laser level and straight edge show the high spots, low spots and falls.
- What's down now
- Tile, carpet, vinyl and timber all come up differently, and what's left underneath changes the prep.
- The base
- Concrete, particleboard and plywood are prepared in different ways.
- The new floor
- What's going on top changes how the base is prepared.
Our work meets industry standards, and we always aim for the best result for our customers.
Tell us what the floor is doing
Tell us what's down now, what's going on top and what you can see. We'll work out the method.
- Call Freddy0459 586 766
- Email Freddyrhinolevelling@gmail.com